Cwm Mawr No. 1 |    |
Bridge abutment
A further view of the bridge abutment shown in the previous picture.
| Front page | Cwm Mawr No. 1 main page Index of mines | Area maps: Arenig, Harlech |
Cwm Mawr No. 1 | |
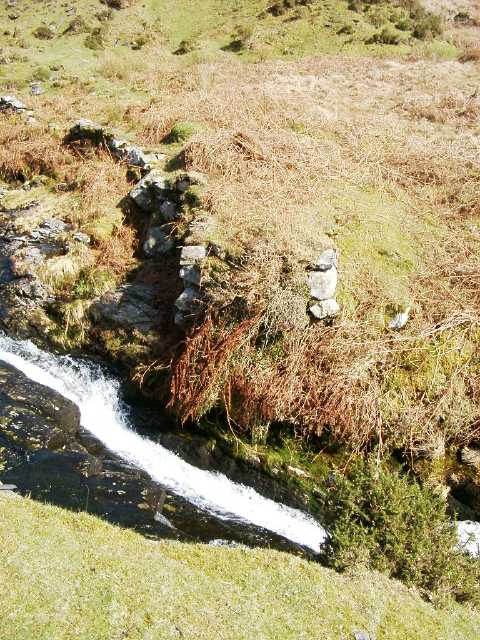
Bridge abutment
A further view of the bridge abutment shown in the previous picture.
| Front page | Cwm Mawr No. 1 main page Index of mines | Area maps: Arenig, Harlech |